Tutorial Step 1: Create a Template
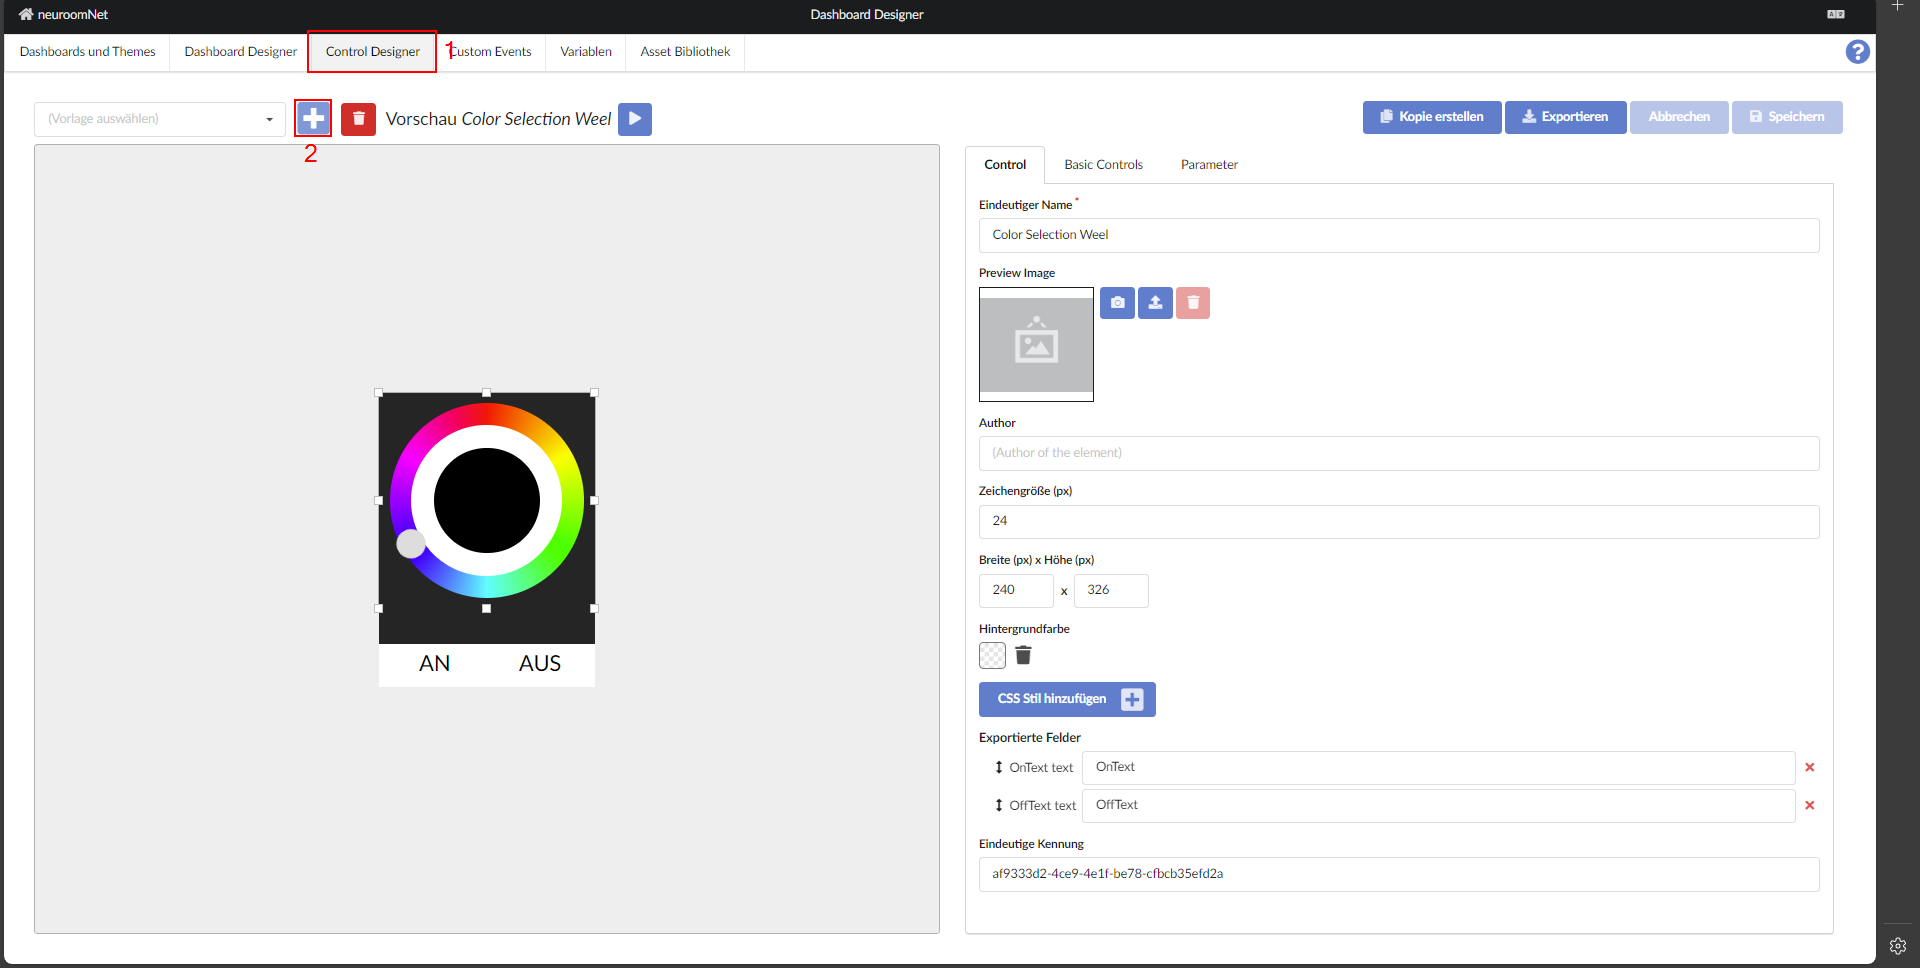
To create a new template, switch to the "Control Designer" tab and click the plus sign at the top left of the page.
Each template receives not only an optional and arbitrary display name but also a system-wide unique name used for identification on panels. To avoid collisions, it is recommended — unlike in this tutorial — to use a namespace concept, for example a prefix like inSynergie.NeuroomNet.SimpleSlider for NeuroomNet's own templates.
Even though the display name is optional and does not need to be unique, it is generally very helpful to set it meaningfully: when present, it is used in selection dialogs, for example when assembling panel pages.
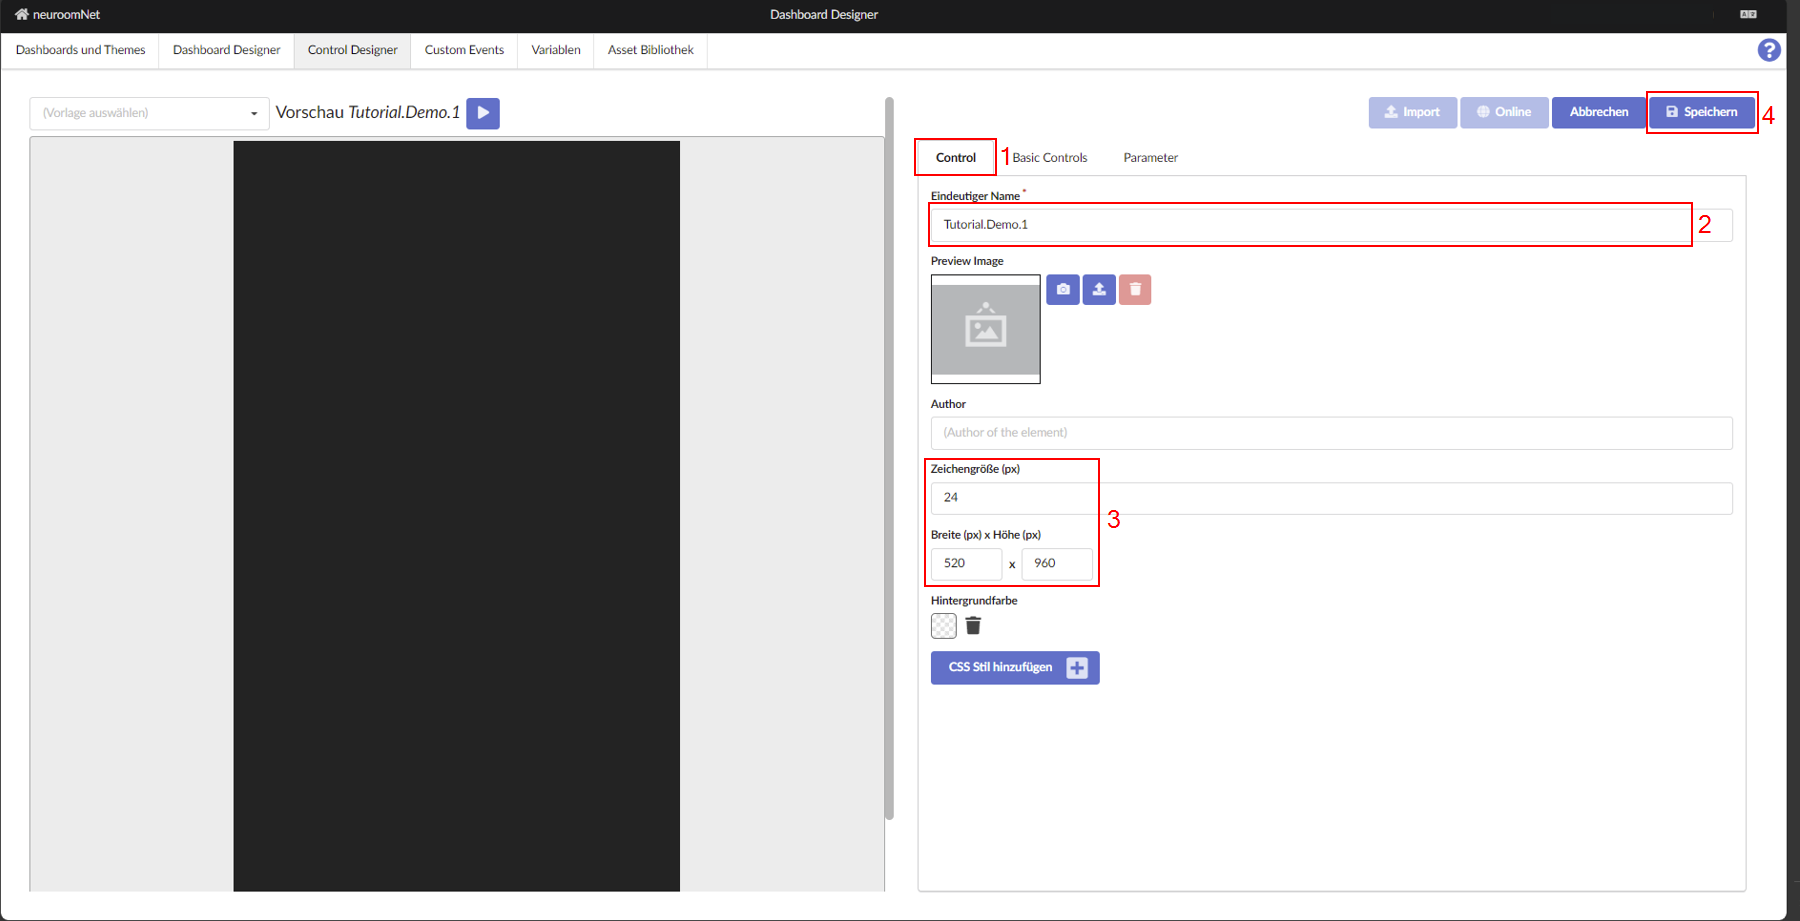
The dimensions of the template are specified based on the default font size — and displayed accordingly in the preview on the left. It is advisable to keep the template sufficiently large during development and then reduce it to the required extent afterwards. The latter is important because on a panel, a template always takes on its defined size regardless of how much space is actually occupied by building blocks.
The initial values for a new template are shown in the image. Based on a font size of 24 pixels, the template is 520 pixels wide and 960 pixels tall — certainly much more than required for most templates.
A custom style is not needed here for now and allows very detailed adjustments to the visual appearance of a template.
Below, in the further steps of the tutorial, the building blocks used (under Template) and variables (under Parameters) are listed. The list of building blocks can be used to configure overlapping display by reordering: building blocks in the template are always arranged one after another, so the last building block appears above all others (z-order).
Next: Parameters / Variables