Tutorial Step 1: Create Panel and Areas
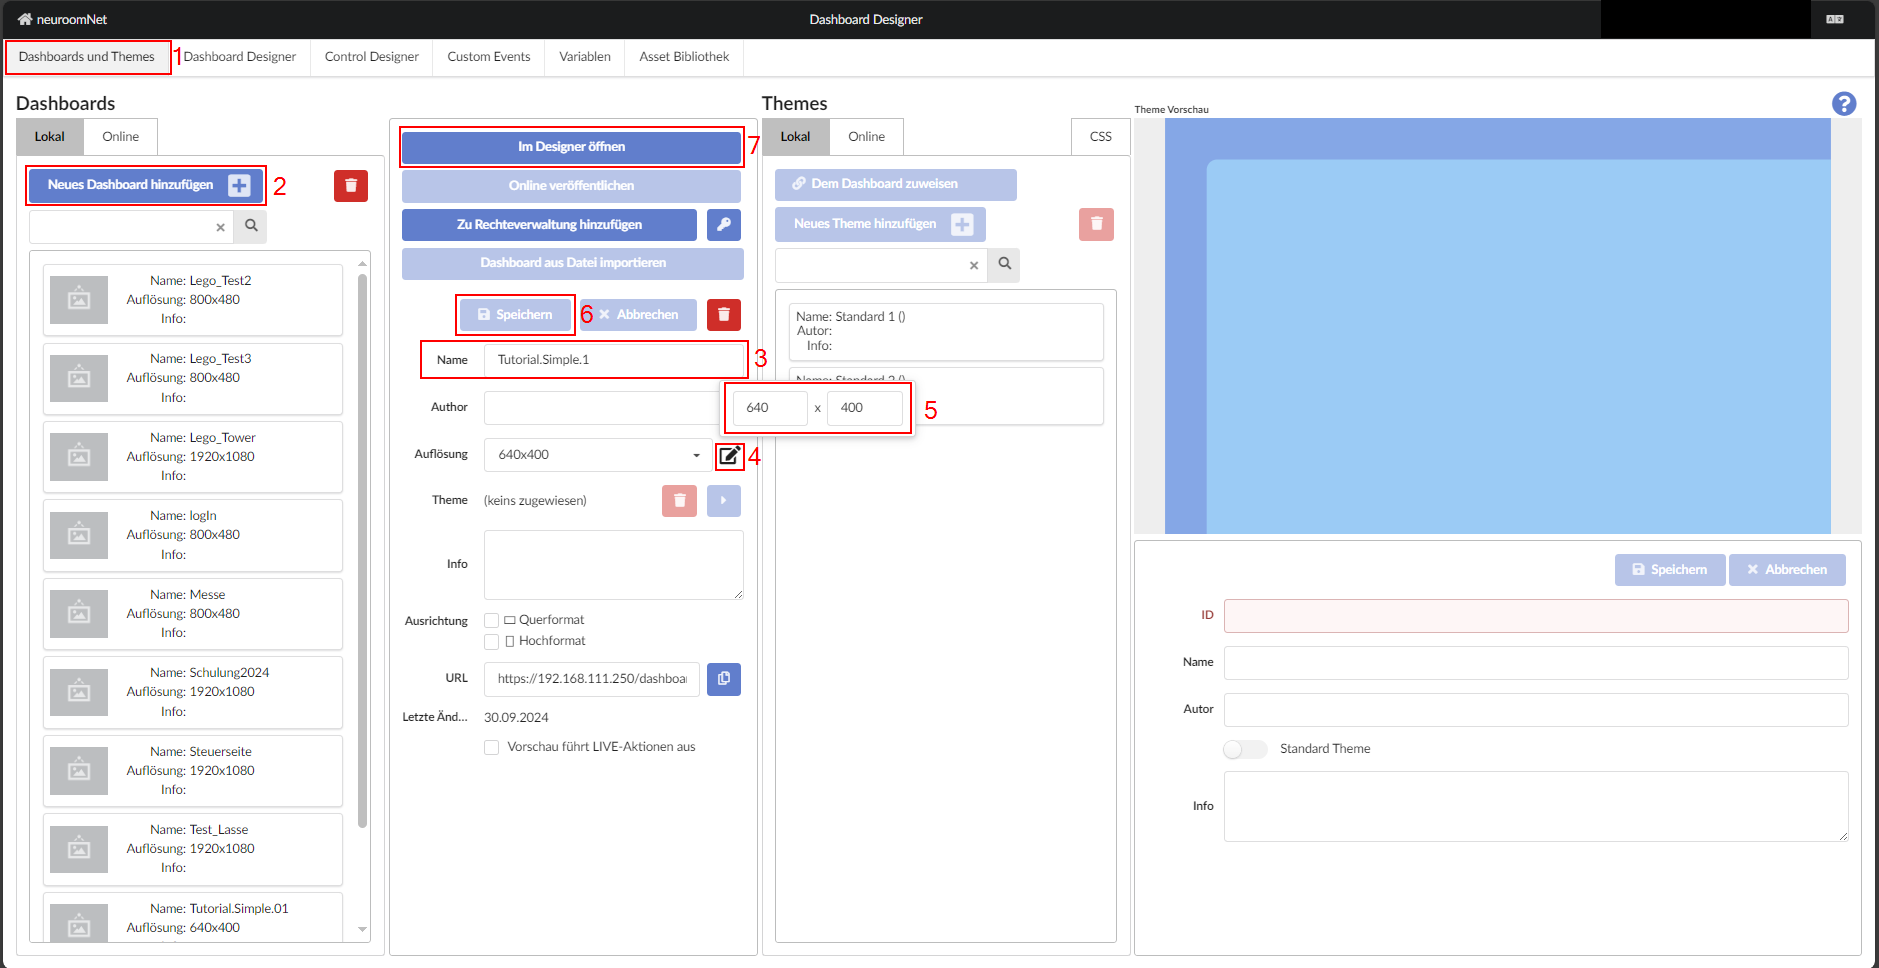
To add a new dashboard, first navigate to "Dashboard and Themes" in the navigation bar. At the top left, find the option "Add new dashboard", select it, then follow the steps shown in the image.
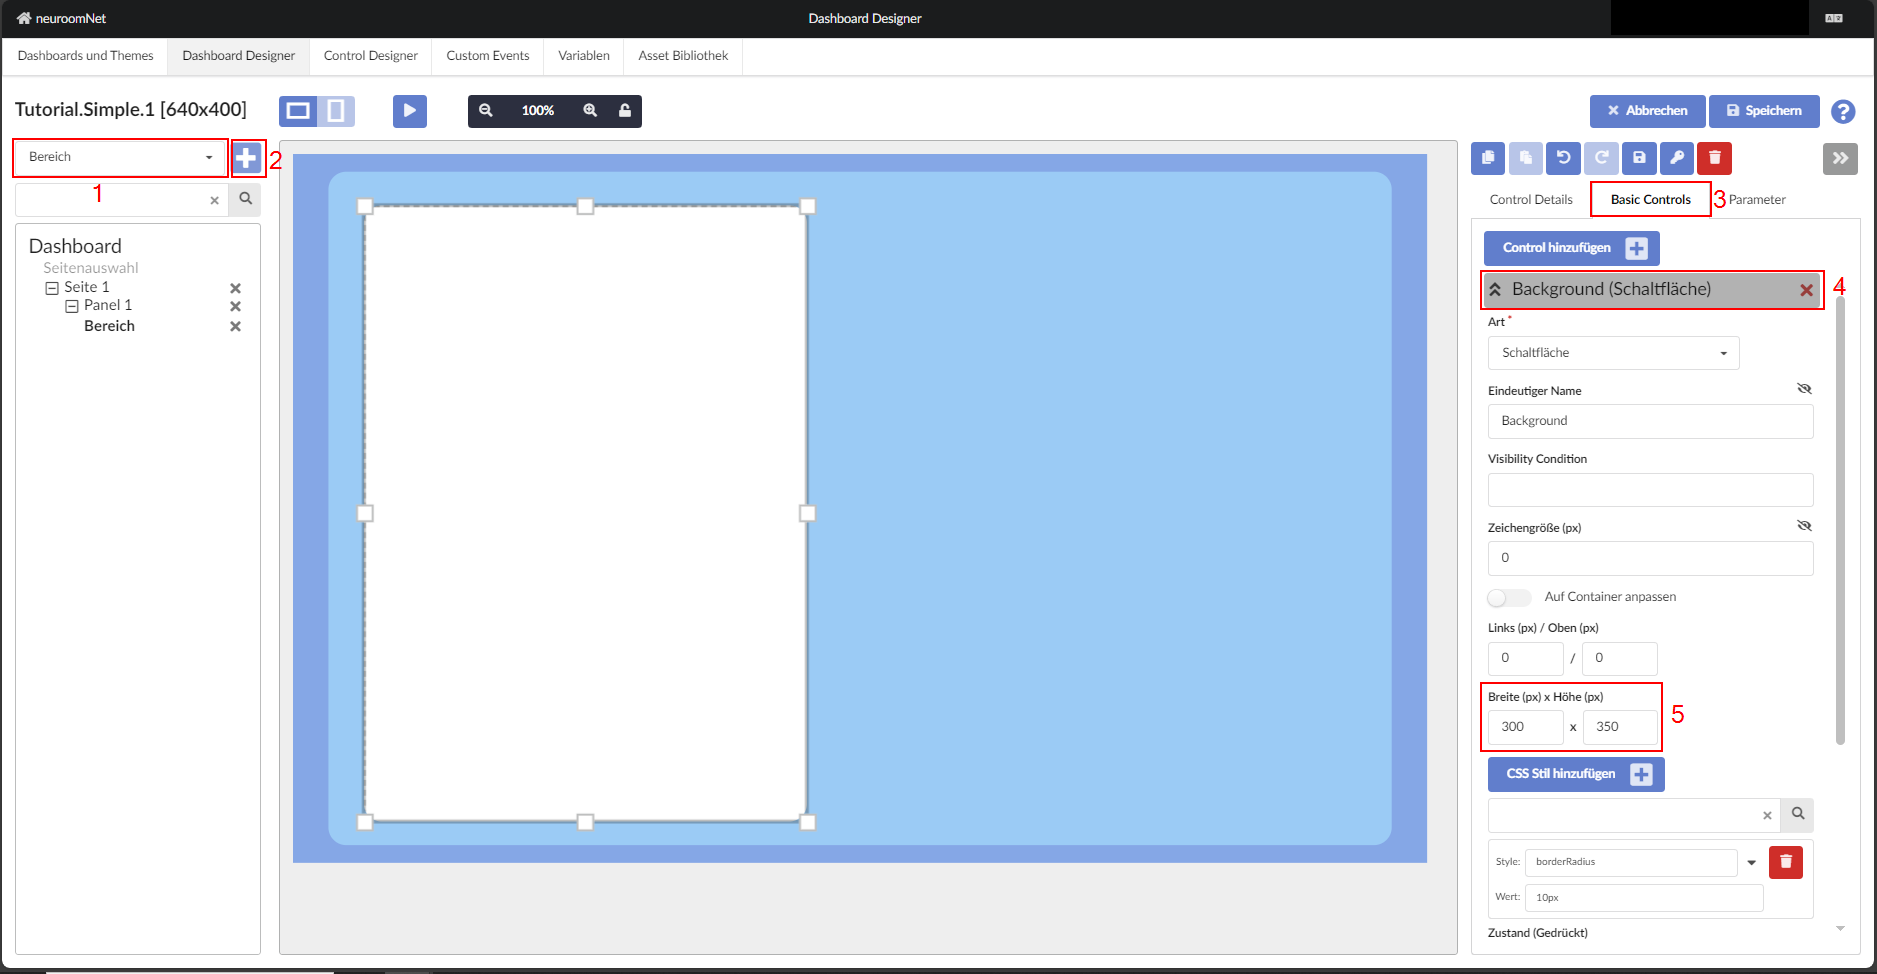
A panel must always receive a unique name by which it can then be referenced in different controls. Since this may be a technical abbreviation, it is always advisable to additionally use a meaningful display name.
The dimensions (width and height in pixels) should be changed to match the associated control device. The default FullHD is probably significantly too large in practice.
To create a new "area", on the "Dashboard Designer" tab a new panel is automatically created whose dimensions differ from those set on the "Dashboard and Themes" tab (640 x 400). To resize the area so that it is aligned horizontally and vertically centred on the page, the dimensions must be adjusted as shown below:

A new area is now created on the panel and positioned. It often proves helpful to roughly determine the position and dimension with the mouse and then adjust the configuration directly via the properties. In later NeuroomNet versions there may be separate tools for arrangement, but the example shows how you can currently (as of NeuroomNet 2023.3) simply align the two areas above and below (via the height).
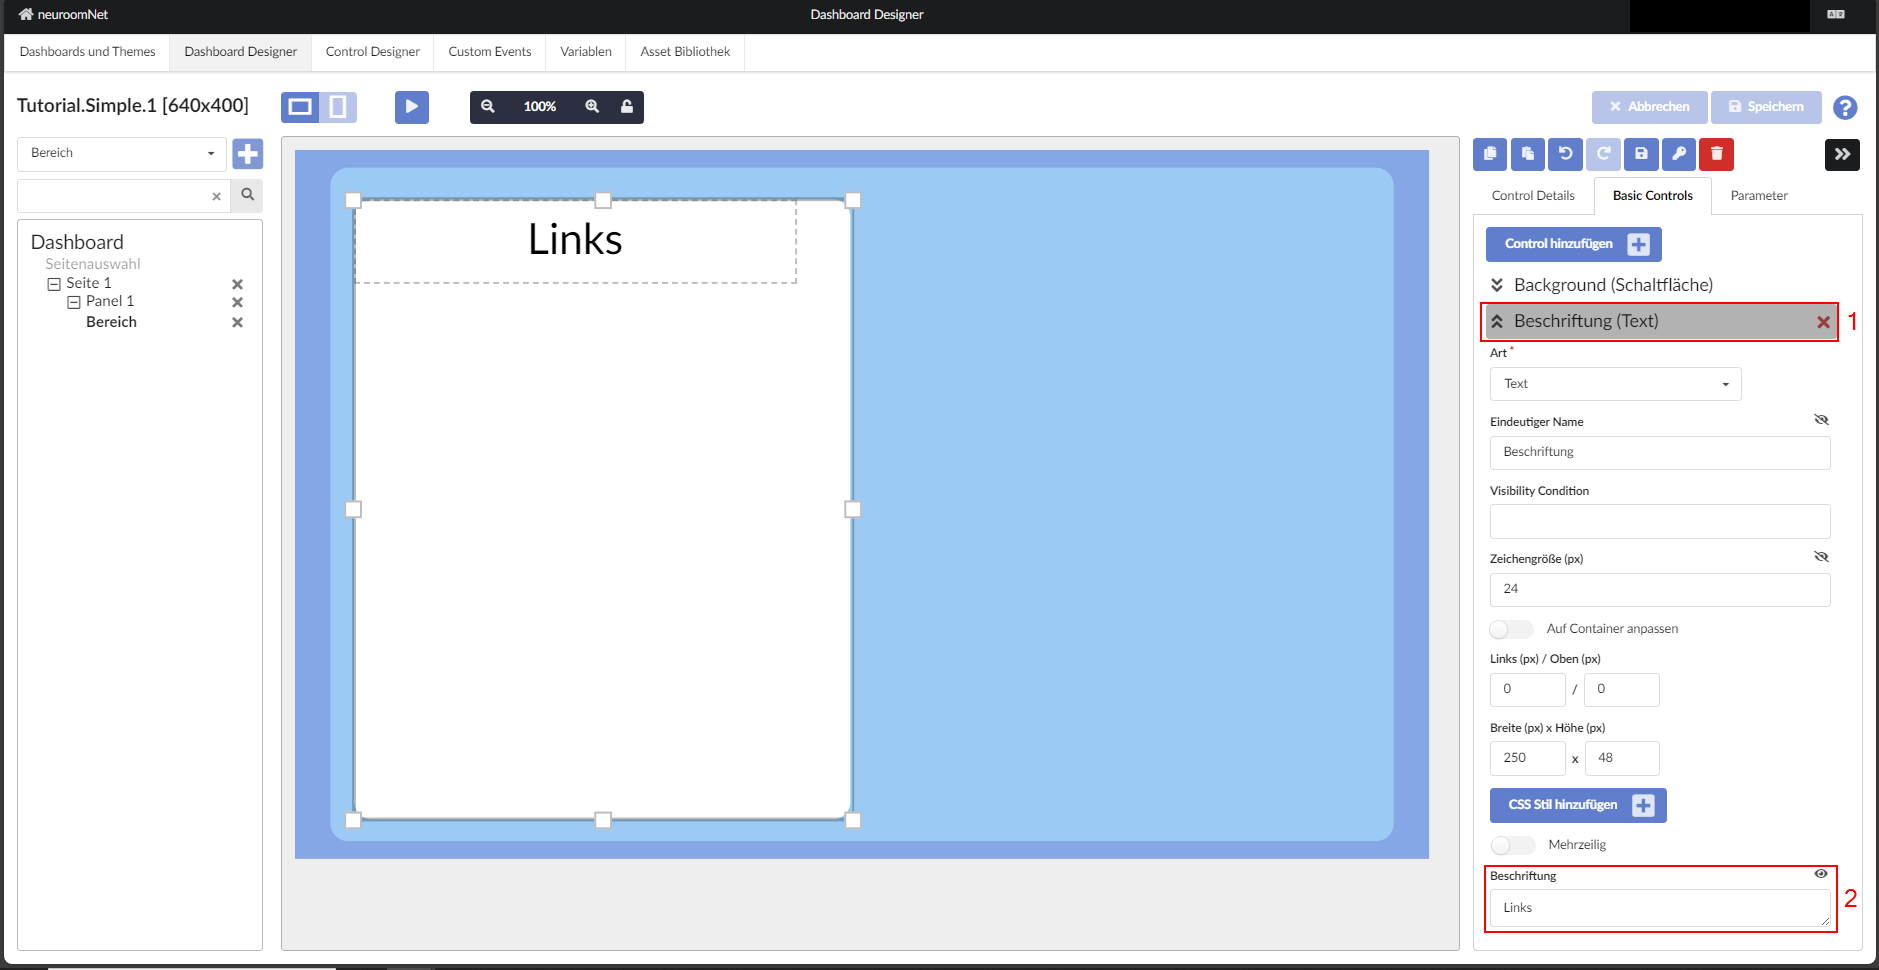
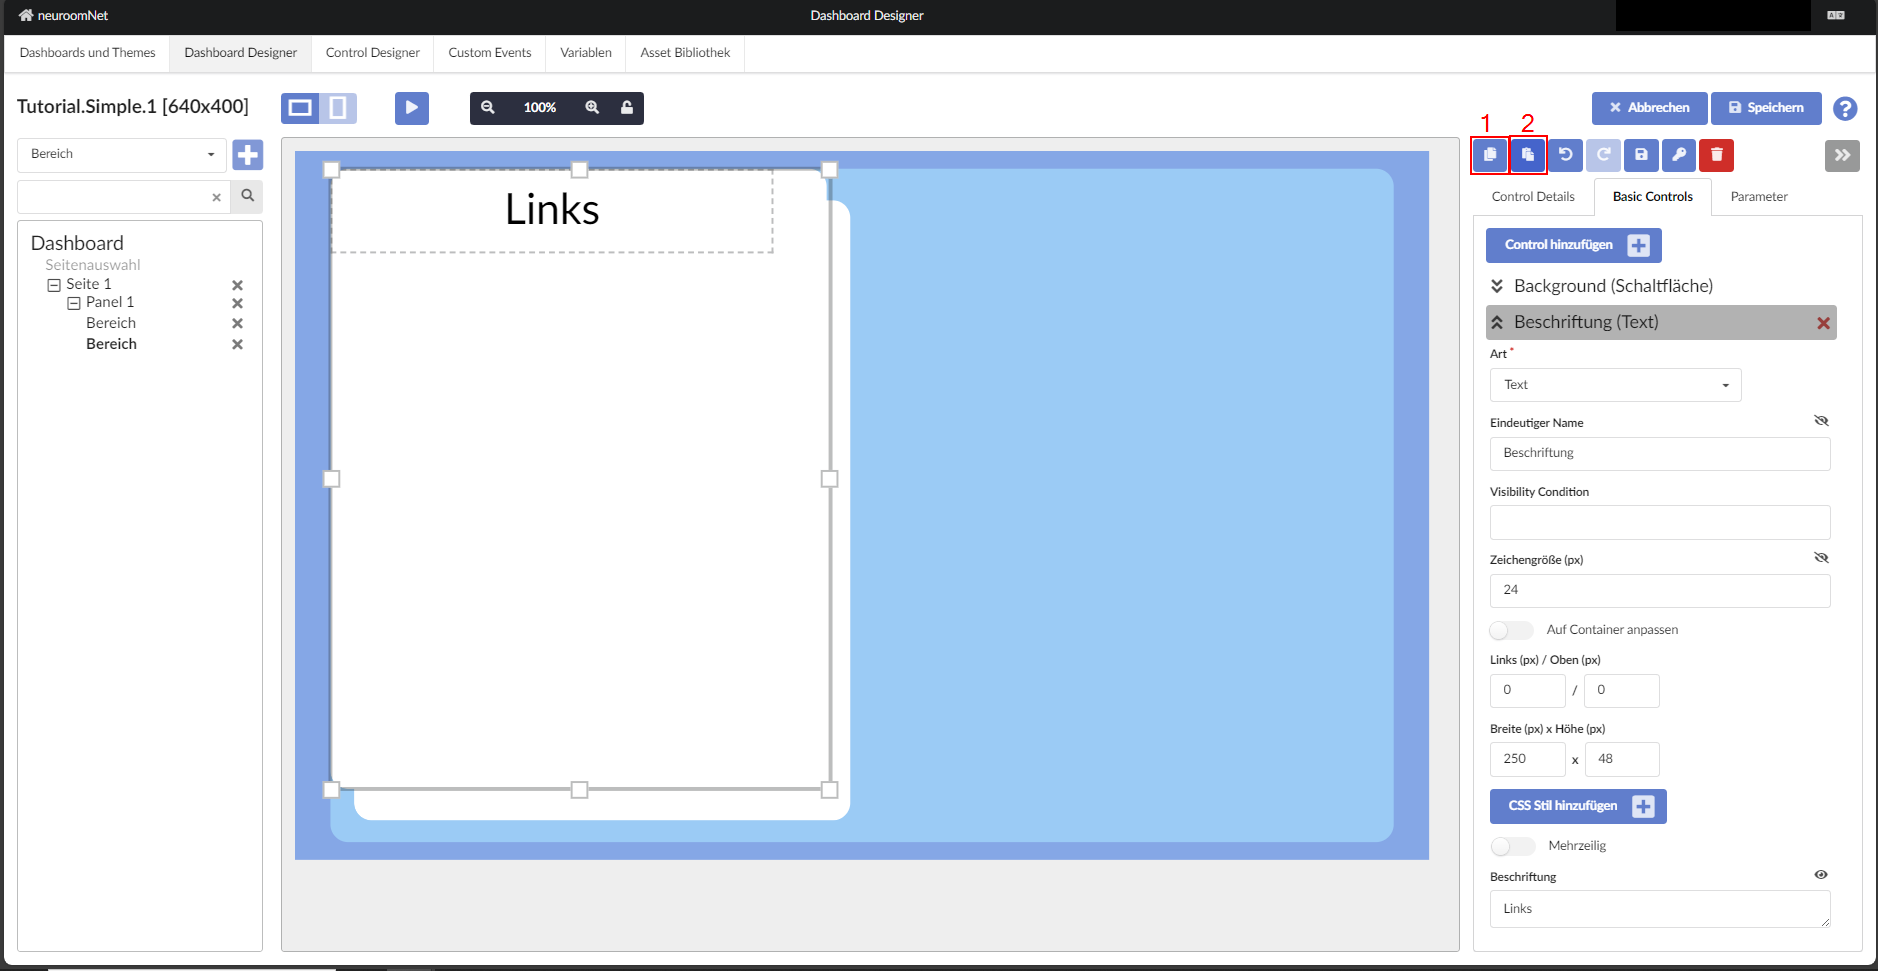
The label can be changed by clicking on the element "Text" and editing "Label" at the very bottom.
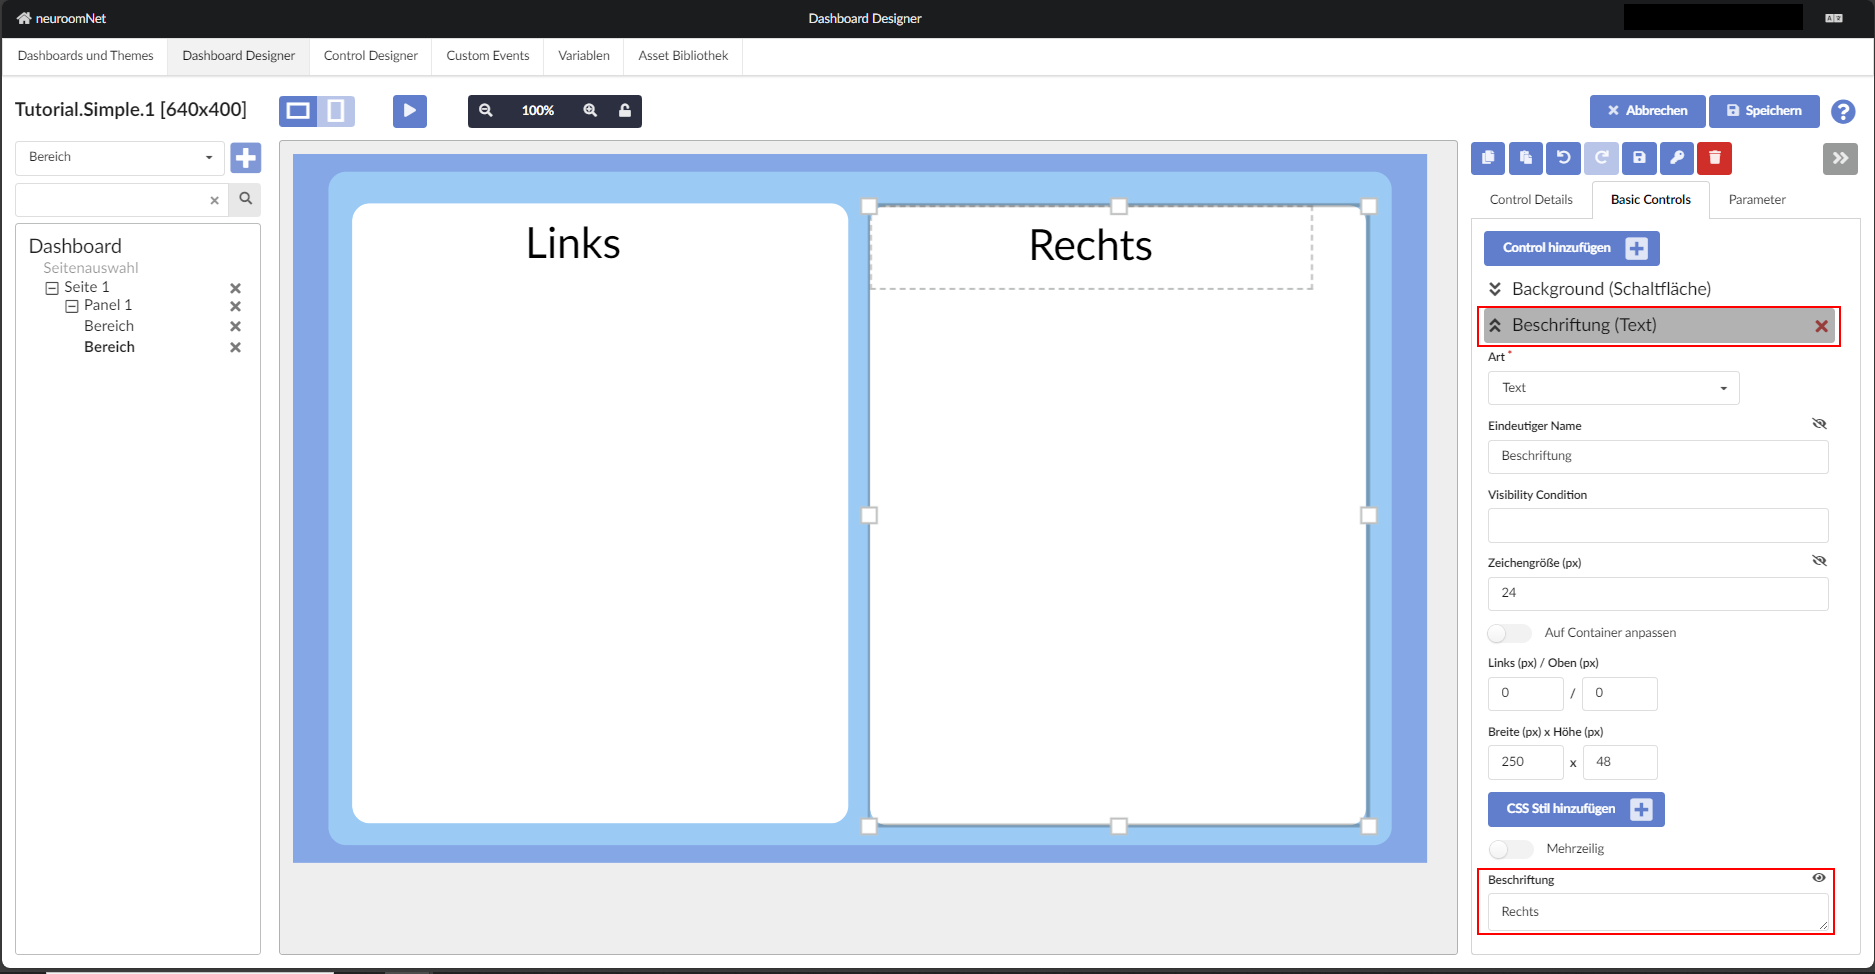
To copy the "template" for the right side, click the copy icon at the top right of the screen and then click "Paste" directly to the right of the copy button.
After moving and editing the label it should look as shown in the image
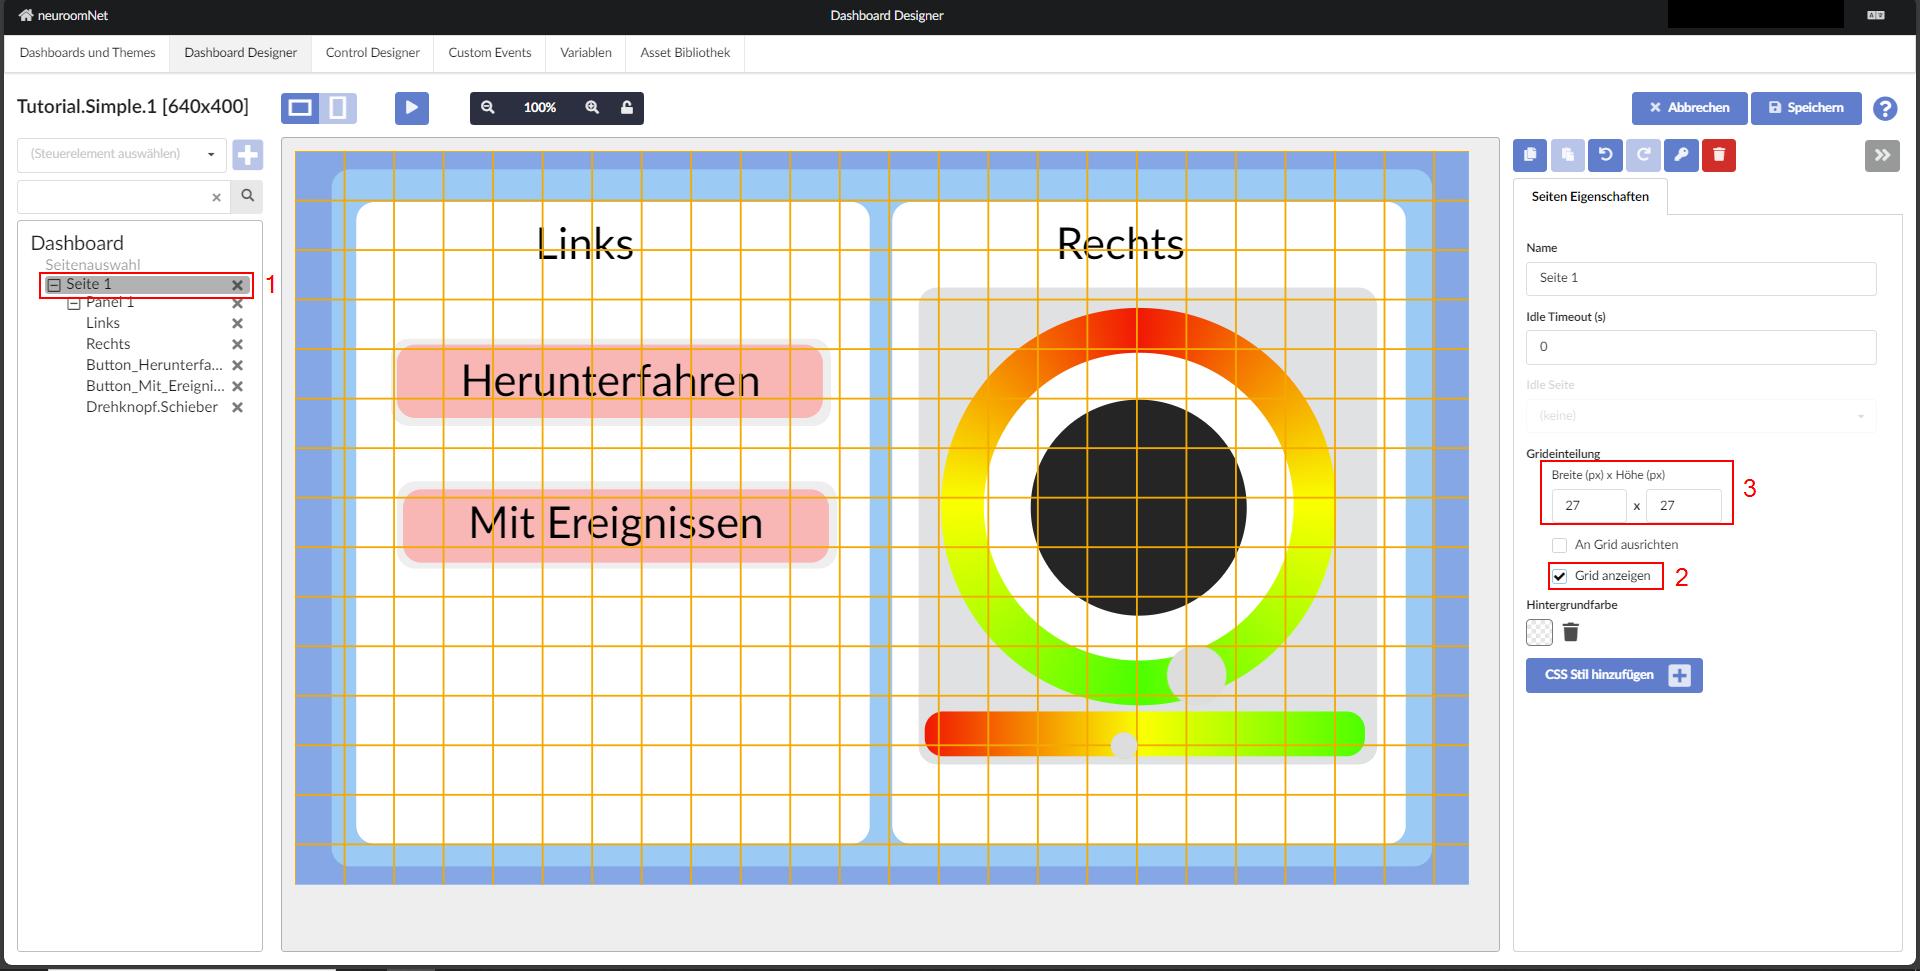
Tip: To align objects more precisely relative to each other, the grid can be used. To show the grid, click on the root element — the page "Page 1" — and check "Show grid" under the "Page properties" tab. Now the grid size can be adjusted to align the grid lines with the elements.